
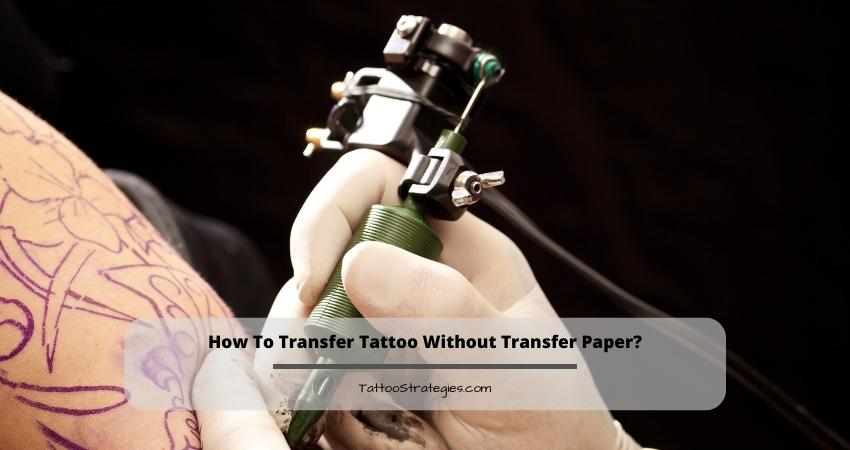
How To Transfer Tattoo Without Transfer Paper?
Ideally, you would need a transfer paper to copy the tattoo design from the stencil and transfer it to the skin. However, running out of transfer papers does not necessarily mean you can’t put a tattoo on your client’s body. Let’s show you how to transfer tattoo to skin without transfer paper.
How to make tattoo stencil without carbon paper is not the only trick in our bag today. We will also explain how to use tattoo transfer paper without a thermal copier. Your copier machine is not working? No worries, you can still do a beautiful tattoo on your client’s skin. So, stay with us to add some new tattooing hacks to your arsenal.
How To Make A Tattoo Stencil Without Transfer Paper?
Step 1. Prepare The Skin
Identify which part of the body you want the tattoo on. Shave the area and clean it with rubbing alcohol to disinfect it. Let the skin get dry. Once it does, apply razor deodorant to minimize infection risks.
Step 2. Copy The Design To A Regular Piece Of Paper
The next step is to copy the design to a regular piece of paper using a thermal copier. The thermal copier will produce a reverse image of the tattoo design on a piece of blank paper. You can use this piece of paper to draw the tattoo on your client’s skin afterward. A thermal copier will need only a minute to copy the design regardless of its intricacy.
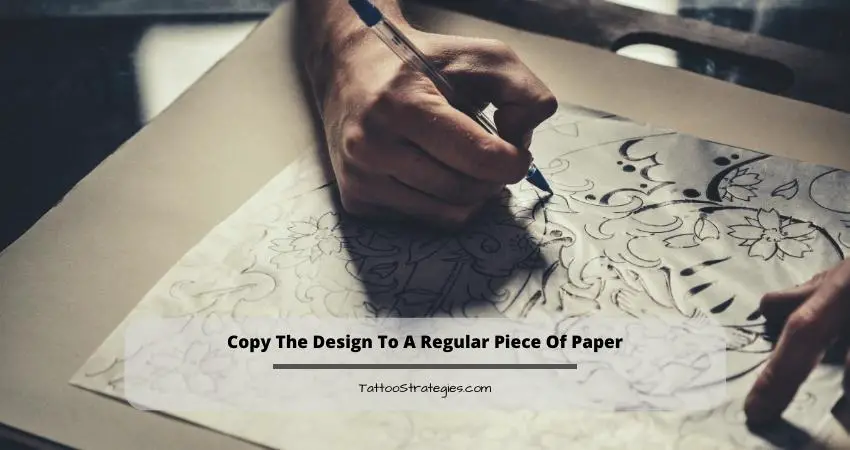
Take a piece of thermal copier paper. A thermal copier paper has three sheets attached to it. A brown sheet separates a carbon paper and a yellow sheet. Remove the brown sheet and insert the yellow sheet in the bottom slot of the thermal copier machine. Make sure it runs into the slot with the yellow part facing upwards. Close the lid afterward.
A printout of your tattoo design will go into the upper slot of your machine. Make sure you feed the entire sheet into the slot, just like the yellow sheet. The design should face downward. Press ‘’copy’’ next. After the yellow sheet comes out, remove the carbon portion. Then, you will see a mirror recreation of the tattoo design on the yellow sheet.
Step 3. Transfer The Design To The Skin
Wet a paper towel or napkin, but don’t make it so wet that it drips. Then, place the paper with the mirror design on the skin. Make sure the image faces backward on your skin.
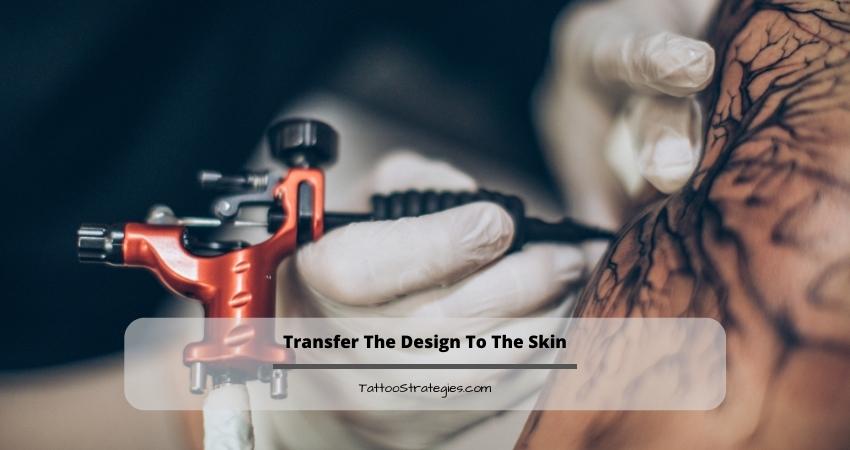
Place the wet napkin or paper towel on top of the paper and hold it in place for half a minute or so. Apply slight pressure over the design area so that the colors bleed to the skin.
Remove the napkin or the paper towel and let the tattoo area dry out. You should see the tattoo on the skin now.
Do remember that if you transfer a tattoo without using a transfer paper, it will be less durable. You will have to apply touchups more frequently. So, only pursue this option if you are okay with that.
How To Use Tattoo Transfer Paper Without Machine?
As we mentioned above, a thermal copier can produce the reverse image of a tattoo design in no time. Manually, you would need 10 minutes to hours to draw the mirror image of a design. So, nobody should be looking forward to it.
It’s quite difficult, but it’s no mission impossible. Here’s how you can make a stencil without a copier machine.
Transfer the image to a sheet of paper using a ballpoint pen of the desired color for the tattoo. Keep in mind that the image you will put on your skin as a tattoo will be the opposite of the one you see now. That means, it would be a mirror image of the actual tattoo.
All you need to draw a high-quality mirror image is a flashlight and a magnifying glass. Take the page where you outlined the tattoo and place it under the magnifying glass. Place a sheet of blank paper over the glass afterward. Aim the flashlight at the glass so that the light passes through it.
Looking through the glass, you will find the tattoo design in reverse. Redraw these lines on the blank page, and you will get a mirror image of the original tattoo design. After the stencil is ready, put a piece of carbon paper on top with the ink side facing down. Trace the outline with a ballpoint pen carefully.
After you draw the outline, check for imperfections. Once you are convinced the tracing is alright, cut out the design from the sheets with scissors. Take your time to trim the edges and make the shape as perfect as possible. Put it on the skin and press it. Leave it for several minutes before slowly peeling it off. Voila! There’s your new tattoo!
Final Words
Skilled tattoo artists should not be defined by their equipment. They need to know how to work around limitations in emergency cases. Not having the proper tools is not ideal, but that’s not a good enough excuse for a body art virtuoso to give up.
The tricks we have covered in this article will help you overcome unexpected obstacles in your tattooing endeavors.